
A fresh coat of paint tells you little about whether a used bicycle fits, has a sound frame or needs repairs that cost more than the asking price. Before meeting the seller, ask for the frame size, clear photos of both sides, the drivetrain and any damaged areas, and a list of what does not work. Bring a small flashlight and try to inspect the bike in daylight. You will also need a short test ride and a way to check ownership.
Start with the bicycle you need
Choose a bike for the routes you actually ride before comparing prices. A road bike may feel efficient on smooth pavement but uncomfortable on broken paths. A mountain bike may come with suspension you have no reason to maintain for city trips. Check whether the frame can accommodate the tires, rack or mudguards you need; tire clearance and mounting points are much harder to change than a saddle.
Ask for the manufacturer’s size designation, but do not treat it as a universal standard. Sizing varies by brand and frame style. On a test ride, you should reach the brakes without stretching and pedal without your knees hitting the bars. Set the saddle to a sensible height and watch for your hips rocking side to side as you pedal. Saddle position and stem choice allow some adjustment, but they cannot fix a frame that is fundamentally the wrong size.
Compare the advertised model and year with the equipment on the bike. Replacement parts are not automatically a concern: components wear out and owners upgrade them. What matters is an accurate description, properly fitted parts and a price that reflects their condition.
Establish ownership before discussing condition
Ask for the frame or serial number and find it on the bike, often under the bottom bracket but sometimes elsewhere on the frame. A receipt, original purchase record or credible service history can help connect the seller to the bicycle. Check the number against a local stolen-bicycle register if one exists. A clean result helps, but it does not prove ownership. Put the number on the bill of sale with the seller’s name, date, bicycle description and agreed price.
Walk away if the number has been removed or deliberately obscured, or if the seller will not let you inspect it. An unusually low price, changing explanations about ownership or pressure to buy without basic documentation are reasons to pause, even if the bike rides well.
Inspect the frame and fork first
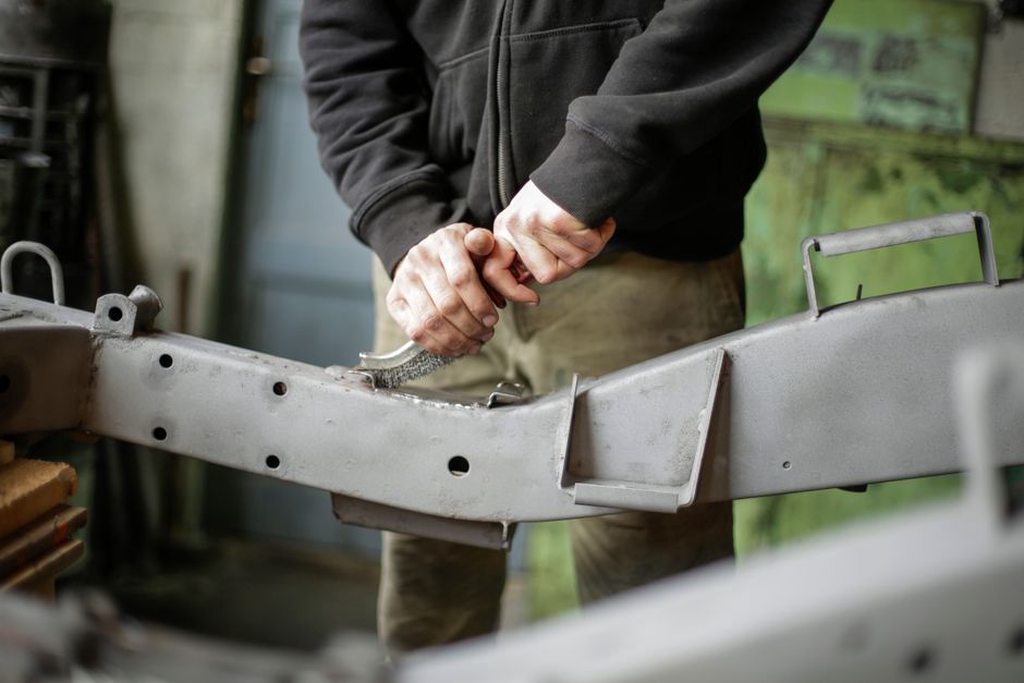
Damage is easier to spot on clean metal. Look closely around the head tube, down tube, bottom bracket shell, seat tube junction, dropouts and fork crown. Use your flashlight on the welds and underside of the frame. Scratches and paint chips may be cosmetic; cracks, buckling, ripples, separating joints or a fork bent backward are serious concerns. Stand in front of the bike and look along the wheels and fork for obvious asymmetry. This is a quick screening check, not an alignment test.
Frame material affects what you look for. Steel can rust around exposed chips or where moisture collects; surface rust on a replaceable part is different from deep corrosion on a frame tube. Aluminum may crack near welds after damage or fatigue. Carbon can be damaged beneath paint that looks intact. Whatever the material, ask about crashes and examine suspect areas closely. If a carbon frame or fork has a significant impact mark, a visible crack or an uncertain crash history, have a qualified specialist assess it. A tap test or the seller’s assurance is not enough.
If the seller allows it, check that the seatpost moves. A seized post can be difficult and expensive to remove. Look for cracks near the seatpost clamp and make sure the post is not raised beyond its minimum insertion mark. Both wheels should sit securely in their dropouts or thru-axle mounts, with the correct fastening hardware in place.
Check the parts that control the bike
Wheels and tires
Lift one end of the bike and spin the wheel, watching the rim against a brake pad or frame stay. A small wobble may be trued; pronounced sideways movement, a flat spot or a cracked rim calls for closer attention. Gently squeeze pairs of spokes to find any that feel conspicuously loose. Then hold the rim and push it side to side. Noticeable hub play can point to an adjustment or bearing problem, as can roughness or grinding while the wheel turns.
Look for cuts, cracks, bulges or exposed threads on the tire sidewalls. Check tread where relevant, though some road tires are nearly smooth even when new. Read the size printed on each tire, confirm it fits the wheel and check that both tires clear the frame and fork. For tubeless tires, ask whether they hold air between rides; dried sealant or a leak may need attention.
Brakes
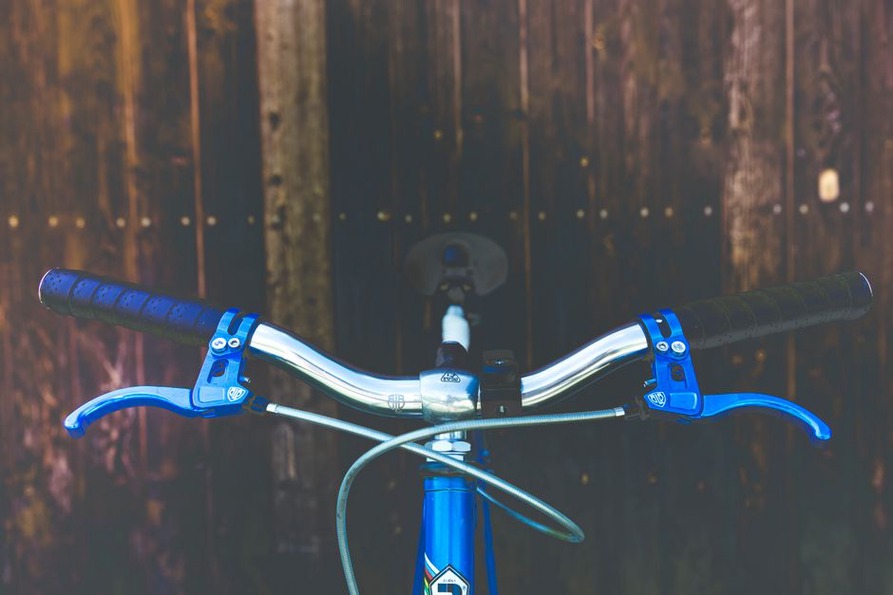
Squeeze each lever while the bike is stationary. It should move smoothly and stop the wheel firmly before reaching the handlebar. Check which lever operates which brake; conventions vary. On rim brakes, check pad thickness and make sure the pads meet the rim, not the tire. On disc brakes, look for worn pads, deeply scored rotors or pronounced rotor wobble. Hydraulic brakes should show no fluid around the lever, hose connections or caliper. A spongy lever may need bleeding or repair.
Release the lever and spin the wheel again. Slight disc-brake contact may be adjustable, but heavy, persistent rubbing wastes energy and can indicate a bent rotor, a poorly set caliper or another fault. A brake that cannot reliably stop the bicycle is not a cosmetic issue.
Steering, crank and drivetrain
Apply the front brake and gently rock the bike forward and back. A knock near the headset may indicate play, although brake pads or a suspension fork can cause a similar sensation. Turn the bars from side to side; steering should be smooth, without a tight notch in the center. Try moving a crank arm sideways to check for bottom-bracket play, then turn the pedals and feel for rough bearings.
Inspect the chain and sprocket teeth for heavy wear, rust or damage. A chain-wear gauge can help, but it will not tell you on its own whether the cassette or chainrings also need replacement. Shift through every gear while pedaling on the test ride. Hesitation may come from a simple adjustment, a worn cable or a bent derailleur hanger; skipping under load may point to worn drivetrain parts. Look for impact damage on the rear derailleur and check that the chain stays on at both ends of its range.
Account for suspension and electric components
On a bike with suspension, compress the fork and rear shock. Watch for oil leaks, damaged stanchions or harsh sticking, and listen for unusual noises. Ask when they were last serviced. A rebuild can make a substantial difference to the cost of a used bike, and a short ride may not reveal a neglected damper. Check any lockouts or adjustment controls, too.
On an electric bicycle, verify that the battery and display belong to the bike and that the correct charger is included. The battery should seat securely, charge and power the system without error messages. Ask how old it is, how it was stored and whether replacements are available. A full charge indicator does not prove the battery still has its original capacity: it may charge fully yet deliver much less range. Try each assistance setting and check that assistance stops when you stop pedaling or apply brake cutoffs, if fitted. Replacement batteries and proprietary electronics can be expensive. An unresolved fault calls for a specialist inspection or a lower valuation, not a guess.
Take a test ride with a purpose
With the seller’s permission, ride somewhere safe and traffic-free. Start slowly and confirm both brakes work. Then pedal seated and standing, shift through the gears and listen for clicks, grinding or creaks. Let the bike roll briefly with a light grip to see whether it tracks normally, but keep your hands on the bars. Pulling to one side can have several causes, including tire pressure or alignment, so investigate rather than jumping to a diagnosis.
Where practical, try the conditions you expect to ride in. A gentle incline, for example, may reveal slipping gears that seemed fine on level ground. Do not brake hard or ride strenuously if you have already found a structural or brake fault. Write down problems before negotiating; sounds and symptoms are easy to forget afterward.
Work out the real cost before making an offer
Separate routine wear from uncertain or safety-critical faults. Once a mechanic identifies the parts needed, tires, pads, cables and a chain have relatively predictable replacement costs. Frame cracks, bent forks and unexplained electrical faults do not. Compatibility and local labor rates also affect the bill, so get a repair estimate rather than assuming an inexpensive part means an inexpensive fix.
- Ready to ride: Confirm fit, ownership and safe operation, and budget for routine maintenance.
- Needs known work: List parts and labor, then compare the total cost with similar bikes in sound condition.
- Condition uncertain: If the seller agrees, arrange a pre-purchase inspection with an independent bicycle mechanic.
- Unsafe or ownership unclear: Decline the purchase rather than trying to price the risk into an offer.
Before paying, agree on exactly what comes with the bike. The charger, keys, removable lights, pedals or accessories in the photos may not all be included. If the battery locks in place, check that the supplied key removes it. Record the frame number and everything handed over on the bill of sale; for an e-bike, note the battery and charger as well.