
Peeling paint is often a sign that the wall needs more than a new color. If moisture is still getting in, a fresh coat may blister or peel again. Check for leaks, condensation, stains, and soft material before buying supplies or booking a painter. Surface condition often has a greater effect on cost and timing than room size.
1. Define the scope room by room
List every surface to be painted: walls, ceilings, trim, doors, cabinets, and any exterior elements. “Paint the bedroom” leaves too much open to interpretation. Does it include the closet interior, window sashes, baseboards, and ceiling? Record each surface separately, along with its condition and proposed finish.
- Identify exclusions. Note what will stay as it is, including built-ins, hardware, and adjacent rooms.
- Choose the level of repair. Filling a few nail holes is different from repairing widespread cracks, damaged plaster, or visible joints.
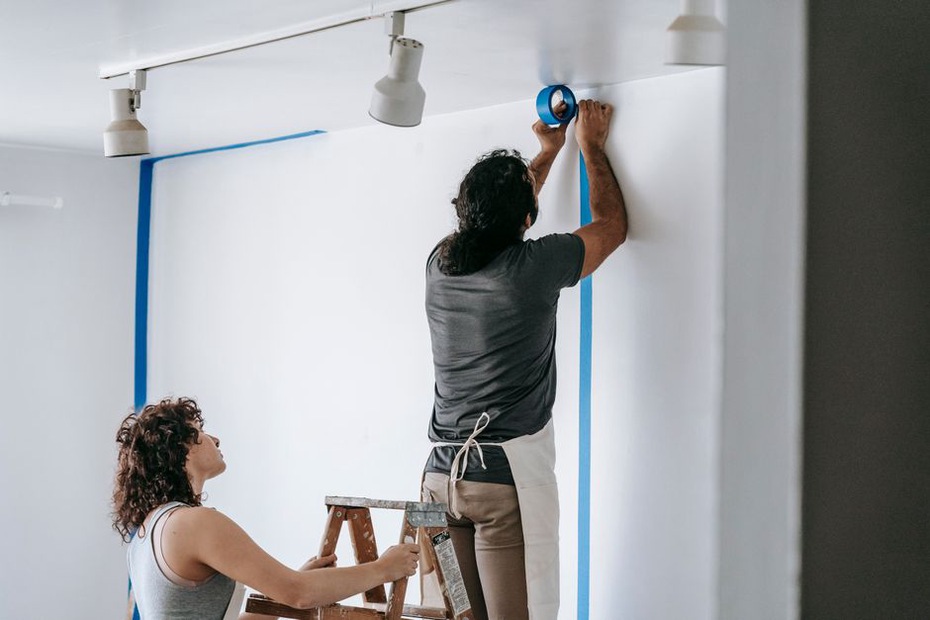
- Record access constraints. High stairwells, heavy furniture, limited parking, and rooms that must remain usable all affect labor and timing.
- Assign associated work. Decide who will move furniture, remove switch plates and curtains, and reinstall fittings.
Photograph damaged areas before work begins. The images can help you compare quotes and distinguish existing defects from damage found during the job. If painting is part of a larger renovation, coordinate it with flooring, electrical, and joinery work so finished surfaces do not need unnecessary protection or repainting.
2. Inspect surfaces before choosing products
Examine walls in daylight, then hold a light at an angle to reveal dents, uneven patches, and roller texture. Look for chalky paint, peeling edges, water stains, grease, mold, and cracks that have reopened after earlier repairs. Press gently around stained areas to check for softened plaster or drywall.
Do not paint over an unresolved water problem. Repair the source, let the assembly dry adequately, and replace material that cannot be restored. Persistent mold or substantial water damage may call for specialist assessment. A recurring crack, particularly near an opening where movement is evident, also deserves investigation before cosmetic repair.
The existing finish affects preparation. Glossy coatings generally need cleaning and suitable abrasion or bonding preparation; stains may call for a stain-blocking primer. New plaster, drywall compound, bare wood, and previously painted walls can each have different primer requirements. Follow the chosen product’s instructions rather than assuming one primer will work everywhere. If an old coating is hard to identify or compatibility is uncertain, test the proposed system on a small area and let it cure before painting the whole room.
In older homes, disturbing paint can release hazardous dust. If lead-based paint is possible, follow local testing and renovation requirements. Do not dry-sand or scrape a suspect coating without an appropriate safety plan. Take the same care with previously coated materials whose composition is uncertain.
3. Set the finish standard and color strategy
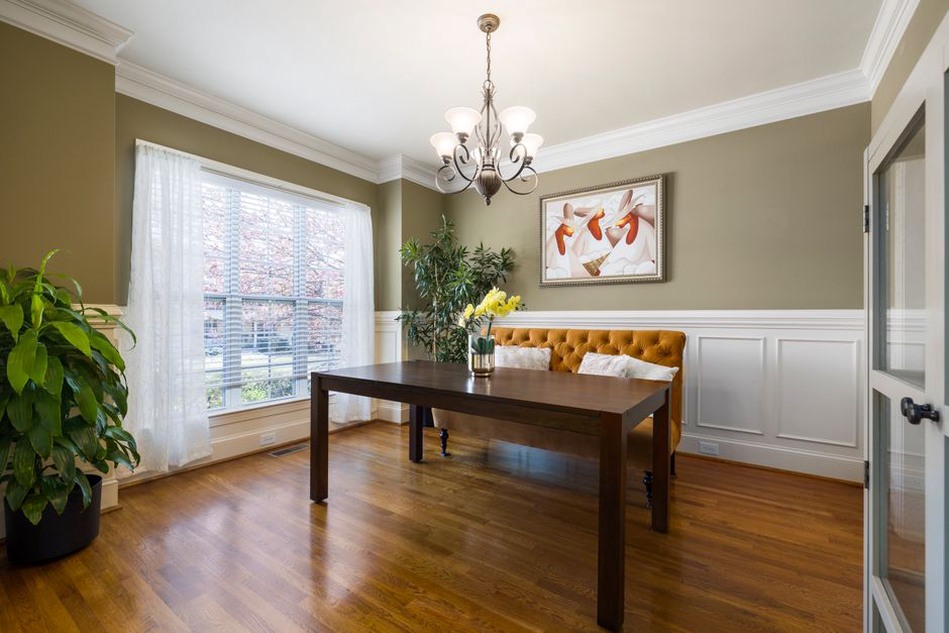
A color that looks balanced on a small card can appear much stronger across four walls. Make sample patches large enough to view from several places in the room, or use movable sample boards. Check them in daylight and under the lamps you normally use at night. Compare them with flooring, tile, stone, cabinetry, and upholstery. If rooms connect visually, look at the samples from the shared doorway too.
Choose sheen for both appearance and cleaning needs. Flatter finishes tend to disguise minor irregularities; glossier ones reflect more light and may draw attention to defects. Washability depends on the formulation as well as the sheen, so check the product’s performance and care guidance. In kitchens, bathrooms, and busy hallways, consider moisture exposure, ventilation, and cleaning together. Moisture-resistant paint will not fix poor ventilation or an active leak.
Put each selection in a finish schedule: room, surface, color name and code, manufacturer, product line, sheen, and any specified primer. Record ceilings, walls, and trim separately. The schedule helps prevent ordering mistakes and gives you a reference for touch-ups, though a new patch may still differ from paint that has aged on the wall.
4. Measure the work and estimate materials
For a simple room, multiply each wall’s length by its height and add the results. You can subtract large openings, but leaving doors and windows in the initial estimate often gives you a useful allowance for waste and small touch-ups. Measure the ceiling separately. Estimate trim by length, or by the number and size of doors and frames.
For example, a 4 m by 3 m room with 2.5 m-high walls has a 14 m perimeter and about 35 m² of gross wall area. Two coats require roughly 70 m² of coat coverage before allowing for texture, application loss, or repairs. Divide that figure by the coverage rate on the selected paint container, then allow for primer and a modest reserve. Printed coverage rates are estimates; porous or heavily textured surfaces may use more paint.
Confirm the coat count in the quote or work plan. Primer plus two finish coats is a different scope from two finish coats over sound existing paint. A substantial color change may need another coat to look uniform. Where possible, buy enough finish paint for each continuous area to the same product and color specification. Mixing the containers together before application can reduce slight batch differences.
5. Build the budget around preparation
Paint is only part of the cost. Budget for primer, filler, caulk where appropriate, masking supplies, drop cloths, abrasives, tools, equipment rental, waste handling, and labor. Allow for defects that become visible after cleaning or scraping, especially in older rooms. An unknown problem should not be budgeted as though it were certain to be a small repair.
Ask contractors to price the same written scope. A useful quote identifies the included surfaces, preparation allowance, products and coat count, protection for furniture and floors, material supplier, and expected work sequence. It should also explain how additional repairs will be priced and approved. Check whether taxes, disposal, and final touch-ups are included. If one quote is much lower, compare its preparation and coat coverage before treating it as equivalent.
For substantial work, agree on how hidden defects will be handled. Before extra work starts, the change process should set out the problem, proposed repair, added cost, and effect on the schedule. That matters when wallpaper removal, damp patches, or damaged plaster make preparation hard to predict.
6. Plan access, weather, and drying time
Application time is not drying time. Paint may feel dry to the touch before it is ready for another coat, and it may need longer still before it tolerates cleaning or heavy contact. Follow the product’s recoat and cure guidance, and adjust the schedule if temperature, humidity, or ventilation falls outside its recommended conditions. Do not assume a room can return to normal use when the painter leaves.
In an occupied home, decide where people will sleep, work, and store belongings while each room is unavailable. Keep routes to bathrooms and exits clear. Protect belongings from preparation dust as well as paint splashes. Working through several rooms in stages may reduce daily disruption, although it can extend the overall schedule.
Exterior work needs a separate weather check. Rain, damp surfaces, strong direct sun, wind, and temperatures outside the coating’s permitted range can affect application and curing. Compare the forecast with the product instructions, and give washed surfaces time to dry. Confirm safe access to upper levels; ladders and platforms need to suit the work, not be improvised around planting or sloping ground.
7. Prepare the home and confirm site safety
Clear small items before work starts and agree on a protected place for larger furniture. Remove fragile fittings where practical. Mark anything that must not be painted, such as stained wood, electrical covers, alarm devices, or metalwork. Ask whether doors and windows need to stay open for ventilation, and plan for any effect on security, pets, or room temperature.
Read the coating’s safety information and follow its handling and ventilation instructions. A lower-odor product may be easier to live with during the work, but smell alone does not tell you whether it is harmless. Keep children and pets out of work areas, secure tools and containers, and leave exits clear. Switch off power before removing electrical cover plates; use a qualified person for electrical work where required.
Plan where tools will be washed and how waste will be disposed of without sending paint into storm drains. Local rules vary by paint type. If you keep leftover paint for repairs, seal it, label it, and protect it from extreme temperatures.
8. Inspect the result under normal conditions
Arrange a final inspection before equipment and protection are removed. View surfaces in ordinary daylight and under the room’s usual lighting, from normal standing positions rather than just inches from the wall. Look for missed edges, drips, bare patches, inconsistent sheen, paint on fittings, and damage to adjacent finishes. Check that doors, windows, and hardware still work properly.
Make a short punch list that names the room and exact location of each issue—for example, “north wall, above socket.” Review it with the painter and agree on when corrections will be made. Some minor variations show up only after the paint has dried fully, so time the final check to the product’s stated conditions.
Keep the finish schedule with the property records. Label any retained paint with the room, surface, and application date. Before a future touch-up, test a small, inconspicuous spot: even paint from the original can may not blend with a wall that has since been cleaned, sunlit, or worn.