
A bicycle tire can hold pressure all autumn and still be soft when you take the bike out of storage in spring. Inflate it within the range printed on the sidewall, then check it again the next day. If it has lost noticeable pressure, look for a leak rather than blaming the winter in storage. It is better to find that out before the first ride.
Split seasonal maintenance into two parts: a brief inspection before rides and a closer look when riding conditions change. These steps apply to most conventional bicycles. For hydraulic brakes, suspension and e-bikes in particular, follow the component manufacturer’s instructions.
Start every riding season with a safety check
Before cleaning or adjusting the bicycle, look for damage that could make it unsafe to ride. Check the frame and fork for cracks, dents or unusual movement, especially after a crash or hard impact. Look over each tire for cuts, exposed casing and badly worn tread. Check the sidewalls as well as the part that contacts the road.
- Wheels: Lift and spin each wheel. Watch for substantial side-to-side wobble or repeated brake rubbing. Hold the rim and gently push it sideways to check for play at the hub.
- Brakes: Squeeze both levers firmly. Each should engage before it reaches the handlebar, and each brake should resist the bicycle rolling when applied on its own.
- Steering: Apply the front brake and rock the bicycle forward and back. A knock near the headset may indicate looseness that needs inspection.
- Controls and contact points: Check that the handlebar, saddle and pedals feel secure and that the grips do not slip.
Do not ride with a suspected frame crack, loose wheel, failing brake or steering fault. A cautious test ride will not establish that the bicycle is safe. If you cannot identify and correct the problem, ask a qualified mechanic to inspect it.
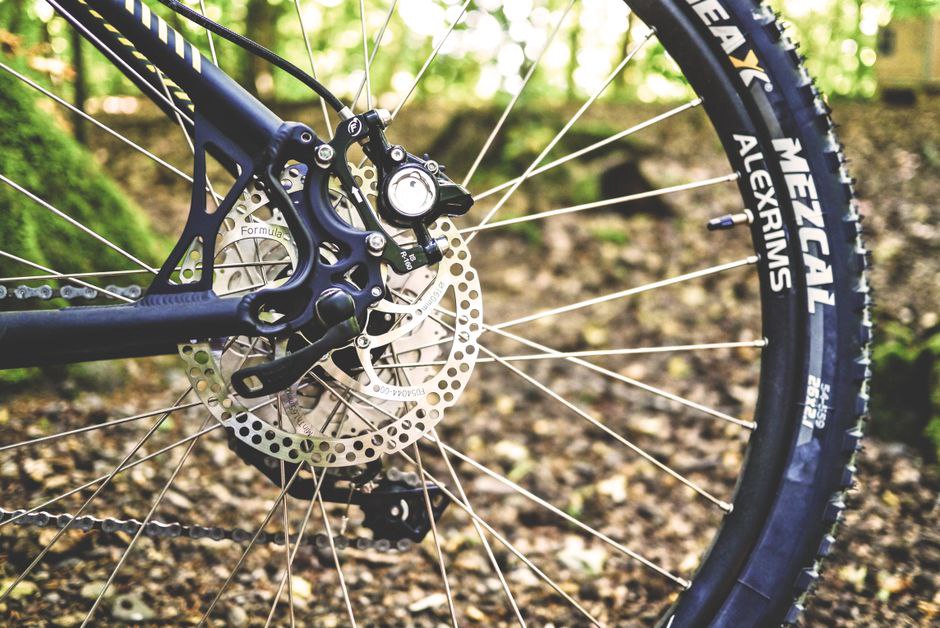
Spring: bring the bicycle out of storage
Clean before lubricating
Wipe the frame and components with a soft cloth and water; use a bicycle-compatible cleaner if needed. Brush accumulated grit off the chain, chainrings and cassette. Keep pressure washers away from bearings, suspension seals and electrical connectors. Water forced into those areas can cause problems that are not immediately apparent.
Once the drivetrain is dry, turn the pedals backward while applying bicycle chain lubricant to the chain rollers. Wipe away the excess: lubricant left on the outside collects grit. Choose a product suited to the conditions you expect and follow its instructions. Keep oil, cleaner and spray off brake pads, rotors and rim-braking surfaces.
Check wear and adjustment
The chain should shift between gears without jumping or repeatedly hesitating. Minor indexing trouble may need only a small adjustment, but a stiff cable, bent derailleur hanger or worn drivetrain can feel similar. Use a compatible chain-checking tool according to its instructions. Replacing a worn chain promptly may reduce wear on the more expensive sprockets.
Inspect brake pads where you can see them. Rim-brake pads must meet the rim’s braking track, not the tire, and need replacing when they reach their wear indicators. Disc-brake pad limits depend on the manufacturer. If the pad material looks thin, braking becomes noisy or stopping power changes, consult the component instructions or have the brakes assessed. New disc pads need the correct bedding-in procedure, and hydraulic brake work calls for the correct procedure too.
If you removed a wheel for storage or transport, reinstall it using the specified axle or quick-release procedure. Make sure it is seated and secured before riding. Where the manufacturer provides torque specifications, use them; overtightening can damage lightweight parts.
Summer: account for mileage, heat and dust
When you ride often, gradual changes are easy to miss. Before each ride, check tire pressure, brake operation and wheel attachment, and look for new damage. The right pressure depends on tire size, rider load and conditions; stay within the tire and rim manufacturers’ limits rather than relying on a universal number. A floor pump with a gauge can help you notice a slow loss of pressure.
Dust mixed with chain lubricant can become an abrasive paste. If the chain looks dirty or sounds dry, wipe it down and relubricate after cleaning instead of adding lubricant over the buildup. Before a longer ride, make sure bottle cages, racks and other accessories are secure. A loose fitting could touch a wheel or obstruct steering.
Pay attention to clicks or grinding that recur, especially under load. The cause might be a loose fitting, but sounds are hard to locate while riding. Note whether the noise happens when pedaling, braking or simply rolling; that gives you or a mechanic a place to start.
Autumn: prepare for rain, grit and shorter days
Wet, gritty roads increase wear on the drivetrain and brakes. After a dirty ride, rinse or gently wipe away grit, dry the chain and relubricate it. Check brake pads more often if you regularly ride through rain, mud or road spray. Deal with changes in lever travel or stopping performance before the next trip.
Check that fenders are firmly mounted and clear the tires through a full wheel rotation. Test the lights, make sure their mounts hold position and charge the batteries. On a bicycle with dynamo lighting, check that the wiring is secure. Keep reflectors clean and visible; local rules determine lighting and reflector requirements.
Fallen leaves can hide potholes and reduce traction. Check tire condition and pressure, but adjust your speed to the surface too. A different tread will not eliminate the risk.
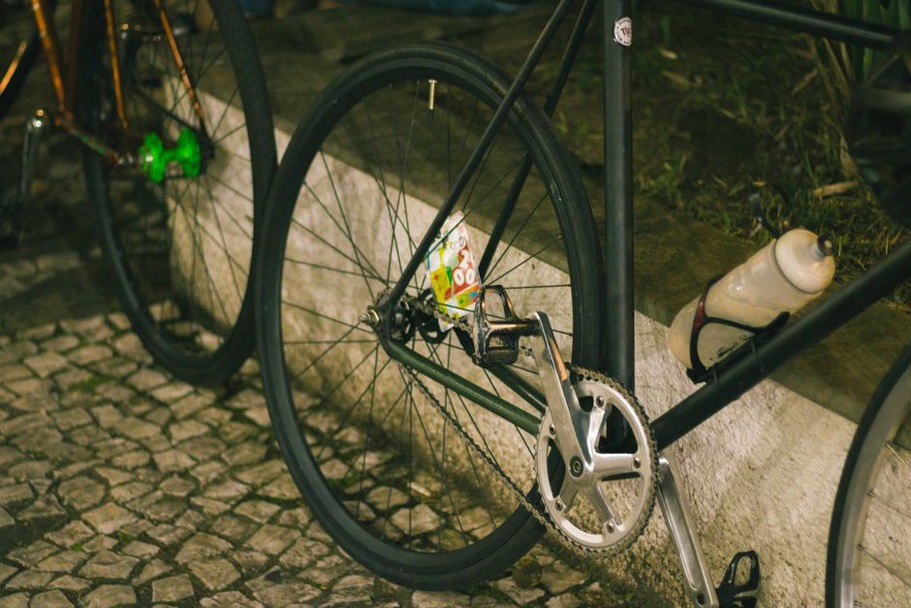
Winter: decide whether to ride or store
If the bicycle stays in use
On salted roads, wash residue off with fresh water soon after a ride, paying attention to the chain, fasteners and exposed metal. Dry and lubricate the chain afterward. Avoid strong water jets around the hubs and bottom bracket. Look for corrosion on cables and exposed hardware, and check that the brakes still work consistently in cold, wet conditions.
Check tire pressure before riding. It can change with temperature, and a leak is easier to deal with indoors than beside a cold road. If you fit studded tires, follow any manufacturer-specified break-in procedure and check clearance at the frame, fork and fenders.
If the bicycle goes into storage
Clean and dry the bicycle first, then put it in a sheltered, reasonably dry place away from corrosive chemicals. Keep the tires inflated within their specified range and check them periodically, particularly if the bicycle rests on its wheels. Chain lubricant can help limit corrosion; wipe off any excess before riding again.
For an e-bike, follow the battery manufacturer’s instructions for storage charge, temperature and periodic checks. Remove the battery if recommended. Protect electrical contacts from moisture, but do not apply products that have not been approved for them.
Keep a small maintenance record
Write down when you replace tires, the chain or brake pads, along with any problem that keeps returning. A brief note such as “rear brake began rubbing after wheel removal” gives you or a mechanic a useful starting point. After a repair or adjustment, check the bicycle again, then take a short ride in a safe area to confirm that braking, steering and shifting work as expected.
When the bicycle comes out of storage, start with a pump: check both tires against their sidewall limits. Then walk it a few steps while applying each brake separately. If a lever reaches the handlebar or a brake fails to stop its wheel, fix the fault before you ride.