
A yellow leaf is not a cue to water immediately. Feel the potting mix a few centimeters below the surface and make sure excess water can drain away. Roots that are too dry and roots sitting in water can both leave foliage limp and yellow, but the fixes are opposite.
Start with a five-minute inspection
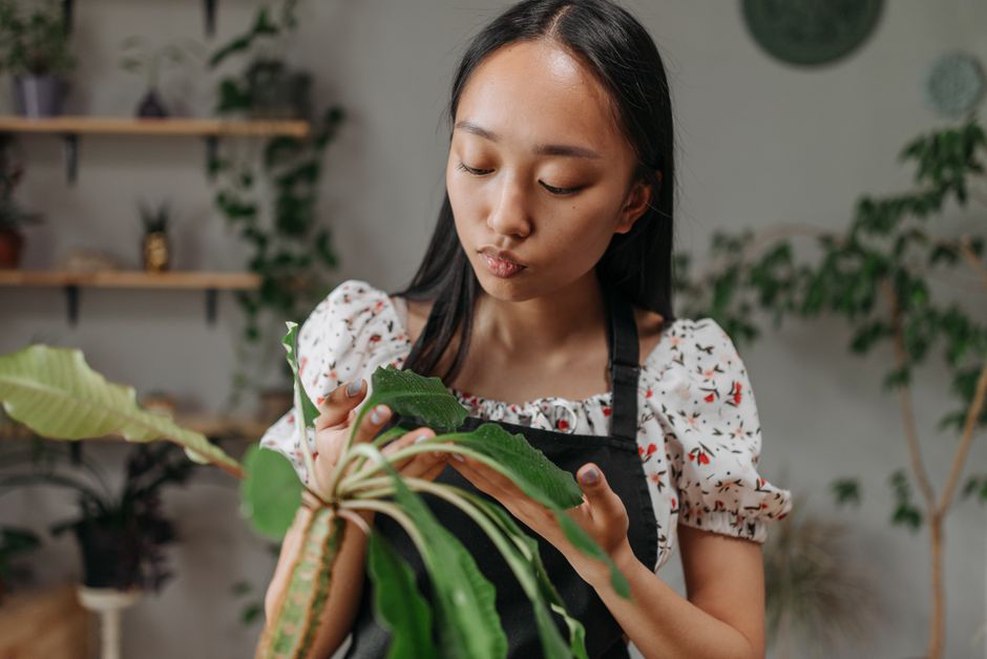
Look at the whole plant, not just its worst leaf. One older leaf yellowing near the base may be normal. Several leaves changing at once suggest something has changed in the plant’s conditions. Note whether the affected leaves are new or old, whether the damage faces the window, and whether the plant was recently moved, repotted, or exposed to a cold draft.
- Check the mix: Push a finger or wooden skewer below the dry-looking surface. If the skewer comes out damp with mix clinging to it, wait before watering.
- Check drainage: Make sure the pot has an open drainage hole and is not standing in water inside a decorative cover pot.
- Check the light: Watch the spot through the day for direct sun or deep shade, and note any nearby heat sources.
- Check for pests: Examine leaf undersides, stems, and leaf joints for insects, webbing, sticky residue, or fine speckling.
If the cause is still unclear, take a dated photo. New growth over the next few weeks will tell you more than an already damaged leaf, which may never regain its color.

Match the symptom to the first useful check
Yellow leaves or a drooping plant
Start with moisture. If the mix is dry well below the surface and the pot feels unusually light, water until excess runs out, then empty the saucer. If the mix stays wet for days, hold off on watering and check drainage. A pot without an outlet can trap water around the roots even when the surface looks dry.
An oversized pot, compacted mix, low light, or a cool room can all keep the mix wet longer. A sour smell, soft stem tissue, or dark, mushy roots calls for a closer look: remove the plant from its pot and inspect the roots. Healthy roots are generally firm. Damaged ones are often soft and may shed their outer covering. Trim clearly decayed tissue with clean tools and repot in a suitable, free-draining mix. If much of the root system has been lost, recovery is uncertain.
Brown tips and crispy edges
Feel the damaged area. Dry, brittle tissue points to a different problem than a soft, dark patch. Brown tips can follow repeated drying, low humidity around sensitive species, fertilizer salts building up in the mix, or sensitivity to water quality. Check whether the mix swings between very dry and very wet, and whether you have fertilized more often than the label recommends. Do not add fertilizer to a struggling plant before sorting out watering or root problems.
Cold window glass and radiator heat can also damage leaf edges. Move the plant away from either, but do not put a shade-adapted species in harsh direct sun. Brown tissue will not turn green; watch the leaves that grow afterward.
Pale growth, leaning stems, or leaf scorch
Stems stretching toward a window and smaller new leaves often point to insufficient light. Move the plant gradually to a brighter spot that suits its species. Leaves that developed in shade can bleach or burn if suddenly exposed to direct sun. Scorch often appears on the window-facing side as pale, tan, or papery patches. If you have just moved a plant from a dim corner to a sunny south-facing window, consider light damage before changing its watering schedule.
Window direction is only part of the picture. Neighboring buildings, overhangs, the season, and distance from the glass all affect how much light reaches the plant. For one sitting far from a window, moving it closer is often more useful than watering more frequently.
Separate pests from environmental damage
Fine pale speckling, distorted new growth, or sticky leaves deserve a close look. Spider mites may leave fine webbing; mealybugs resemble small white cottony clusters; scale insects often look like fixed bumps on stems or leaves. Wipe or gently rinse the leaves so changes are easier to spot, isolate the affected plant, and check again: newly emerged pests may be missed the first time. Treatment depends on the pest and the plant. Follow the label of any product you use, test a small area first, and avoid spraying in strong sun.
Not every spot comes from a pest. A brown patch with a soft margin may follow prolonged leaf wetness or physical damage; tiny dry marks may be old injuries. If spots spread, remove severely affected leaves with clean tools, give the foliage room, and keep water off the leaves when watering. Distinguishing between plant disease and damage caused by environmental conditions matters: changing light or watering will not eliminate an active pest or infection.
Change one condition, then watch new growth
Changing several things at once makes it harder to tell what helped and can stress the plant further. If the mix is wet and the plant is in low light, empty any standing water first and let the mix dry to a level appropriate for the species. Reassess before repotting or fertilizing. If moisture is appropriate but the stems are stretching, adjust the light instead.
Use care labels as a starting point, not a fixed watering timetable. Pot size, root density, temperature, and seasonal light all change how quickly a plant uses water. If yours repeatedly wilts when the mix is dry, check moisture for a few consecutive days after watering and note when the pot starts to feel light. That gives you a more useful cue than watering every Sunday.